
hanns
-
Posts
30 -
Joined
-
Last visited
-
Days Won
12
4 Followers


About hanns

- Birthday 10/20/1961
-
Stoppen met TSC en stoppen met ondersteuning van vragen
hanns replied to Sjef61's topic in Announcements & News
Leuk om je gekend te hebben, bedankt voor je hulp en het allerbeste! .hanns. (hoping that this was good enough Dutch) -
Ofcourse, it's a big pity to see this community go away. As a late joiner, I was impressed by the most valuable experience and support this community could offer in a friendly and welcoming way. I would like to thank all members who I had the chance to meet, but also those that I didn't, for their dear contributions. I hope, each of us can find a new haven for our hobby elsewhere and we may meet again sometime. All the best Markus (aka hanns)
-
Nog een vraag over La ligne District Sud-Ouest
hanns replied to Jan van Brugge's question in Support
Hallo Jan I recently installed that route and found it also very difficult to collect the lot of downloads. I programmatically compiled a list of all direct links from the route executables to the assets (maybe you can also do this with the TSTools, but I always prefer my own way ;-). Here you find my analysis attached, maybe it helps? All the best, Markus (aka hanns) by the way: there is also a french list of necessary downloads (which i followed and attached here) Route-d3ce1dc2-d86e-xxx-Dependencies.xlsx ldso assets nécessaires.txt -
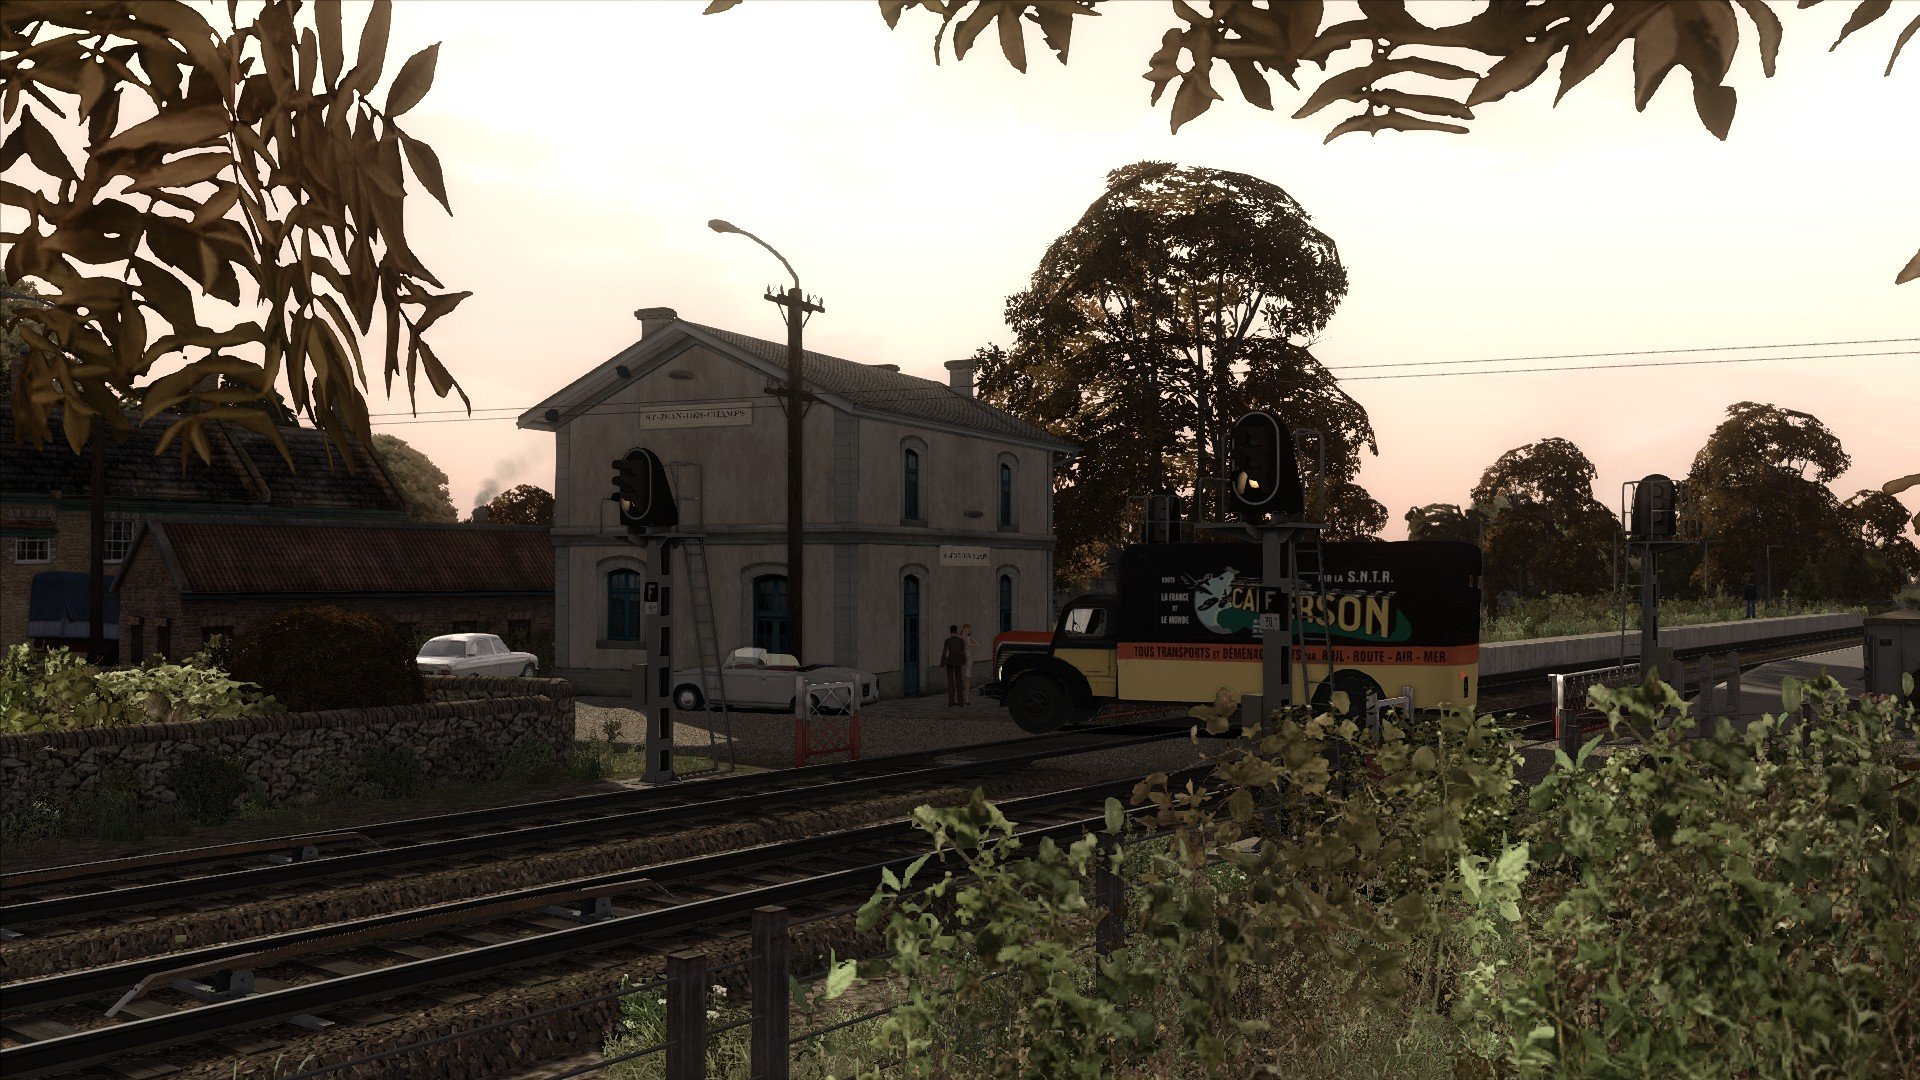
Have uploaded today (2025-09-05) a new alpha version of the french route 'Granville-Folligny by Zawal (Hanns Edition)'. The route does not need too many payware (2 old lines from Steam) and some freeware asset packages from french sites (Route Creation Log for Granville-Folligny by Zawal).
All very welcome to try it out and complain about it.
All the best,
Markus (aka hanns)

-
Hiifofufa NMBS - Au départ de Saint-Ghislain V1.0
hanns replied to Hiifofufa's topic in Development - Routes
Can you forward the station asset to me? So i can check the possibilities? -
Hiifofufa NMBS - Au départ de Saint-Ghislain V1.0
hanns replied to Hiifofufa's topic in Development - Routes
I could offer you to try to move the perrons with an animation blueprint. Would have to take a look at the GeoPcDx of the station. Maybe there are handles to the single perrons? -
Have reviewed the french route 'Granville-Folligny' by ZAWAL and proposed 2 patches. The route is now fully guarded by signals, and awaits the first enthusiast to make a scenario.
https://www.railsim-fr.com/forum/index.php?/files/file/2098-granville-folligny-by-zawal/
-
Belgium La Ligne District Sud-Ouest
hanns commented on Lefacteur's file in La Ligne District Sud-Ouest
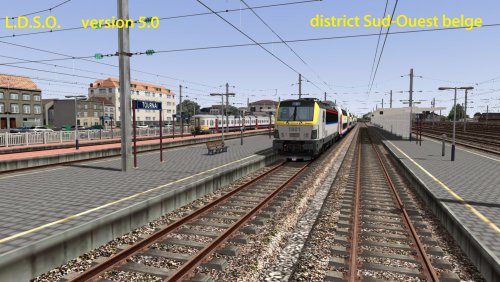 I just installed the line successfully and have an overview of necessary assets. Will talk to you...
 -
Have downloaded the route. Attached here is my compilation of dependencies within the 'tracks.bin' (this means: all that is needed to run the track network). Route-d3ce1dc2-d86e-xxx-Dependencies-For-Tracks.xlsx
-
Hi Talliho, I am able to download the file (as logged on user) right now. If you are still stuck, we can try to install the route together. You are welcome to reply in Dutch. Cheers, hanns
-
Wish you all a beautiful holiday season to come!
-
-
I understand that your observations relate only to one specific scenario. Sometimes, it helps to go to the scenario root folder and delete the files named 'InitialSave...'. They will be recreated.
-
Did you check whether Railworks64.exe is actually using the graphics processor (GPU) and not the CPU?
-
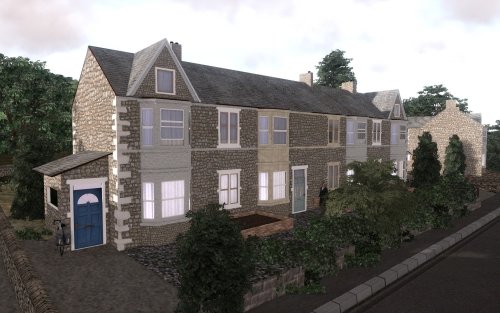 Here is my album foto of the Berriedale Terrace that I am actually attempting to model with this kit. It was taken in summer 1978, while the inset is a recent photo from Google Street View. World Coordinates: 54°11'52.57"N 2°53'42.96"W
 -
Version 2.0.0
51 downloads
Freeware created by Hanns Horsch, Switzerland The model kit is not exactly to measure and was designed according to photographs and maps. Details are for near viewing, however, kept to a minimum resource usage through composition from elements. - To install, extract the Assets-hanns-UK-MorcambeBayTerrace-v1.zip file to your Train Simulator Classic root directory. - Within the route editor, refer to the 'hanns/SceneryUK' package and look out for a building named 'HH-Terrace-Single-A...' - All buildings fit to be attached to each other. L and R designates left-hand and right-hand versions of the same model.